1 | ts-node src/index.ts |
- tsc를 통해 .js파일로 만들고, js파일을 실행하는 것이 아니라
- 바로 .ts 파일을 실행하는 것처럼 보여준다
- 따로 .js파일은 생성되지 않는다
ts-node 설치
1 | npm install -g ts-node |
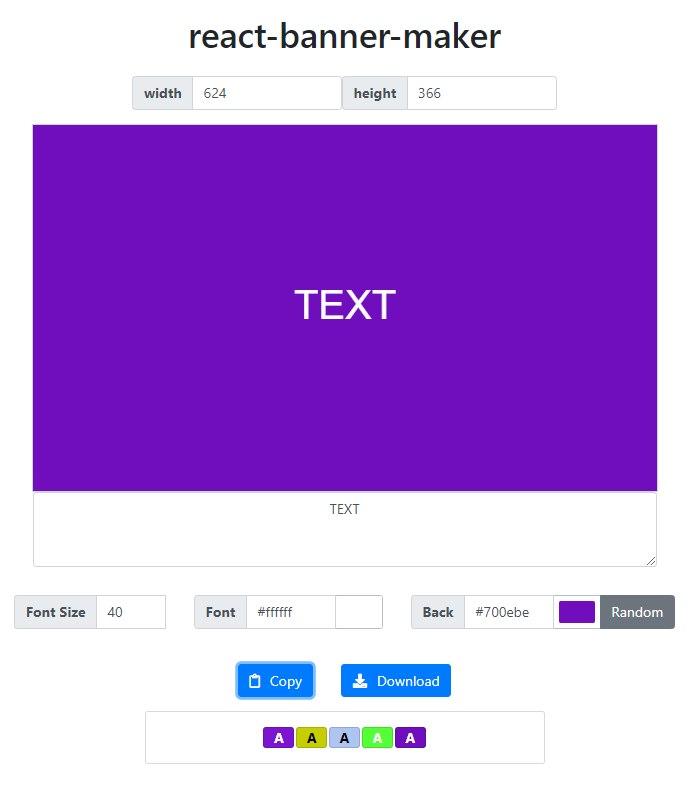


1 | // https://stackoverflow.com/questions/3942878/how-to-decide-font-color-in-white-or-black-depending-on-background-color |

1 | export function copyToClipboard() { |
1 | { |
1 | npm i |
1 | { |
tsconfig.json를 생성한다1 | /** |
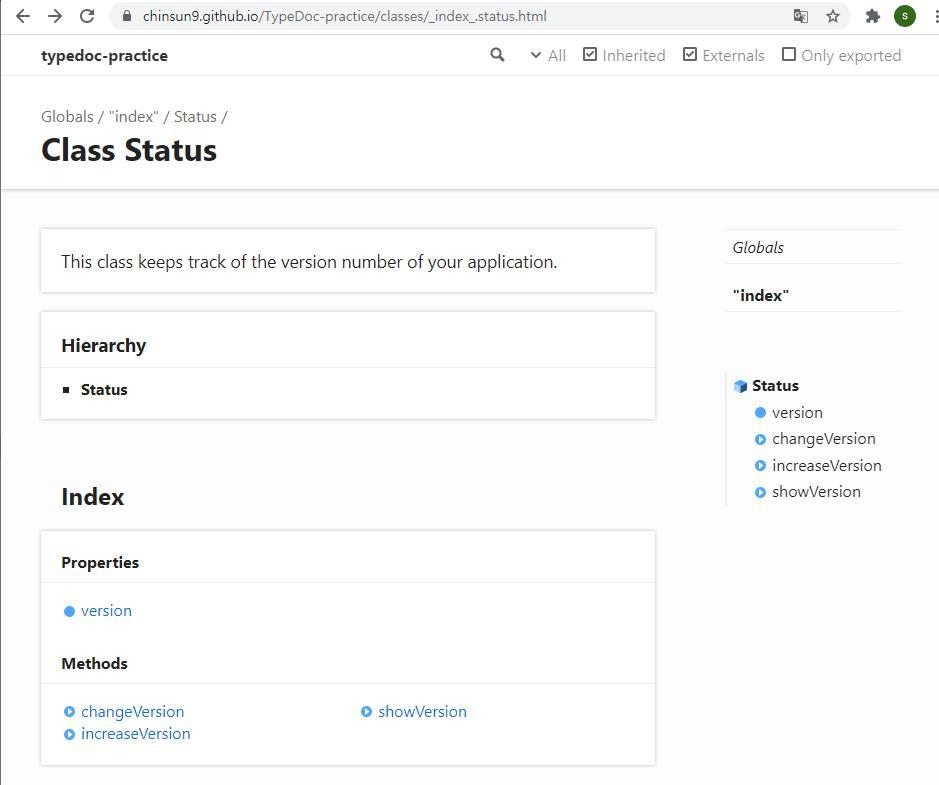
/**를 타입하면 독주석 자동완성이 나온다1 | npx typedoc --out docs |
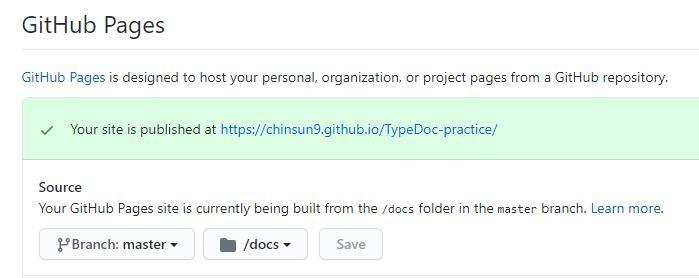
typedoc-plugin-nojekyll 모듈을 설치해줬는데,_로 시작하면 페이지가 안나온다_index_.html 이런식으로 _가 붙는다.nojekyll이라는 파일을 만들어놔야한다.nojekyll을 추가할 수 있지만, npx typedoc --out docs명령을 쓸때마다 초기화되서 불편하다typedoc-plugin-nojekyll 모듈은 이 문제를 해결해준다1 | # Created by https://www.toptal.com/developers/gitignore/api/node |
.gitignore 파일을 만든다. node프로젝트용 무시목록이다
깃허브에 저장소를 만들고 푸쉬한다