aws sam, lambda 정리
- nodejs 람다 기준
sam
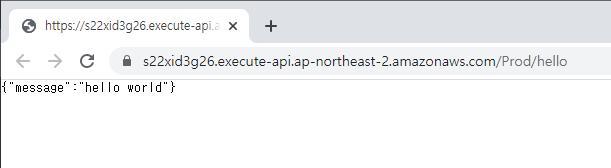
- sam cli로 로컬에서 람다를 작성하고 배포할 수 있다
실행환경
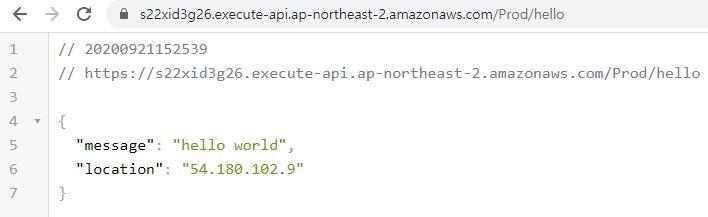
- /var/task 에서 람다 함수가 실행된다
- /opt/nodejs 에 레이어가 적재된다
- /tmp 디렉터리는 유일한 쓰기 디렉터리이다
- /tmp 디렉터리의 용량은 512MB이다
- /tmp 디렉터리는 일회성이다
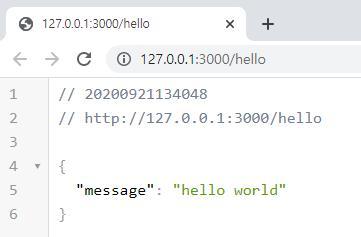
로컬에서 테스트
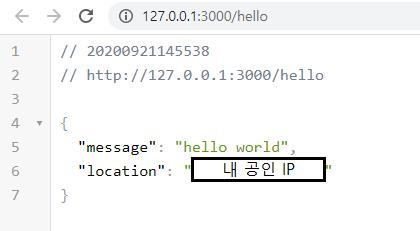
sam local start-api로 로컬에서 람다를 테스트해볼 수 있다--skip-pull-image옵션을 주어 실행 시간을 단축시킬 수 있다- 로컬에서 실행할 때 도커가 필요하다
- 참고로 람다는 아마존 리눅스 2 환경에서 돌아간다
빌드
sam build명령으로 설치되는 패키지에는 devDependencies가 포함되지 않는다
레이어
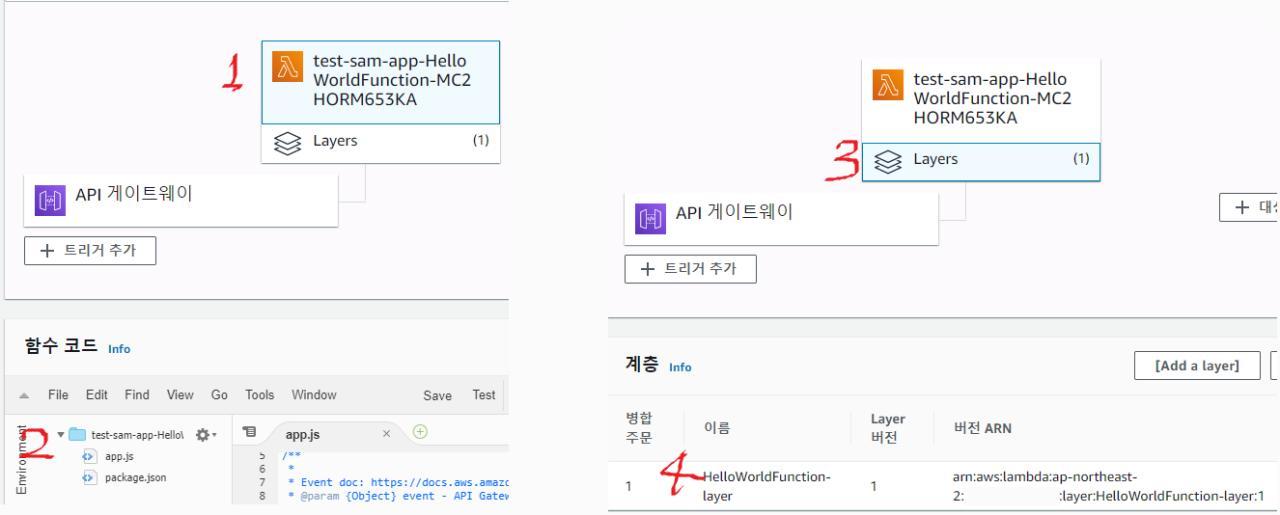
- 레이어는 종속성을 따로 관리할 수 있게 해 준다
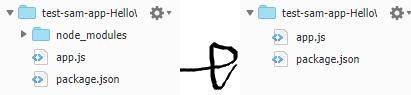
- 노드 모듈은 웬만하면 레이어로 빼는 게 맞는 것 같다
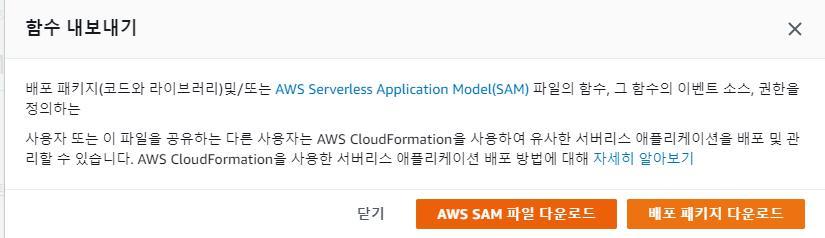
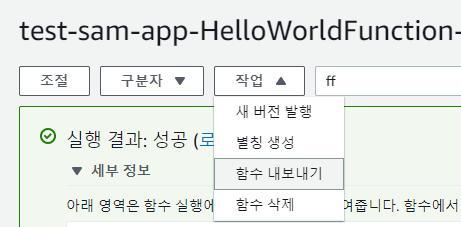
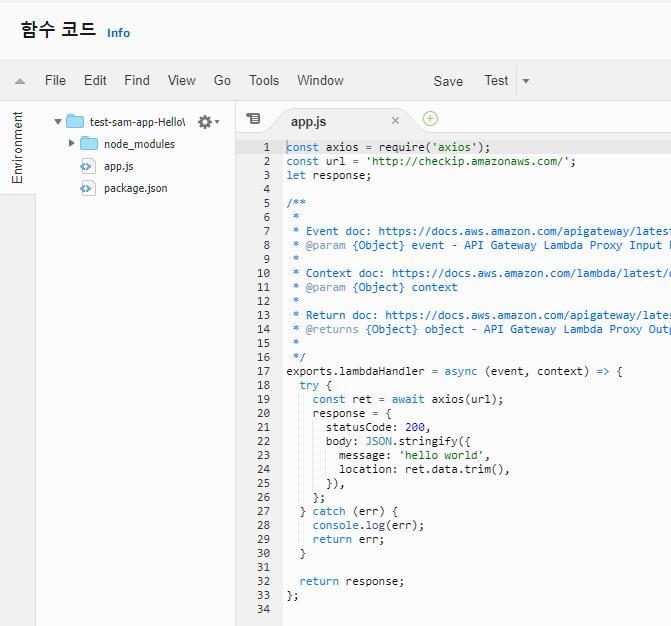
- 람다 노드 모듈 폴더를 포함하여 배포되면 용량이 커져서 브라우저에서 코드 조회를 할 수 없다
- 공통적으로 자주 사용되는 패키지들을 묶어서 재사용할 수 있다
- 레이어로 사용할
- devDependencies가 포함되건 말건 상관없다면 심볼릭 링크를 사용하는 것도 나쁘지 않은 것 같다 참고
레이어 (내가 만든 모듈)
- 내가 제작한 모듈도 레이어로 뺄 수 있다
- sam project 루트 디렉터리를 기준으로 /opt/nodejs 에 내 모듈을 작성한다 (ex. /opt/nodejs/myModule.js)
- sam project 루트 디렉터리에서
jsconfig.json를 다음과 같이 한다 (없으면 생성)
1 | { |
- 이를 임포트 해서 사용하는 파일에서는
1 | const myModule = require('myModule'); |
- 이런 식으로 불러와 사용할 수 있다
- 자동 완성도 잘 작동한다
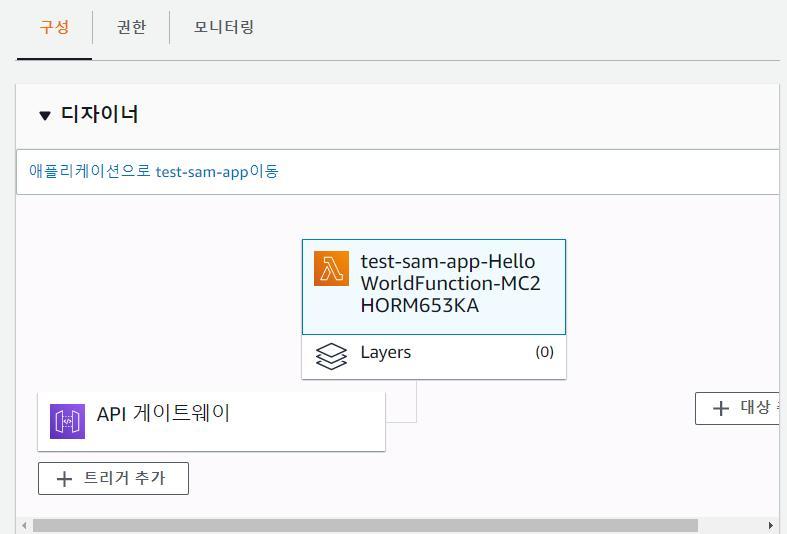
레이어 yaml 설정
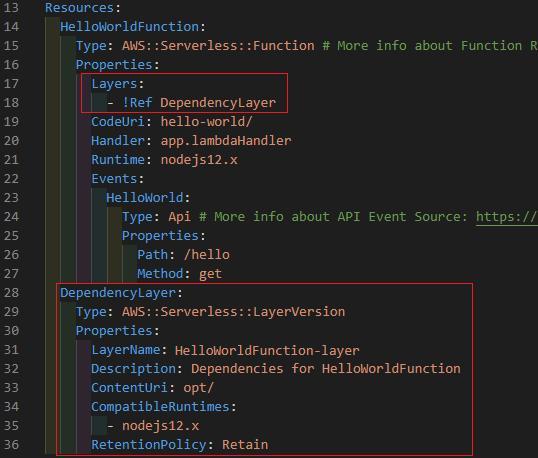
1 | Resources: |
- 이런 식으로 리소스에 레이어를 작성한다