로컬에서 sam 테스트하기
- 이제 테스트할 때 build, deploy 기다리기… 할 필요가 없다!
전제조건
- docker 설치
- 참고 ; windows10 home에서 docker 설치하기
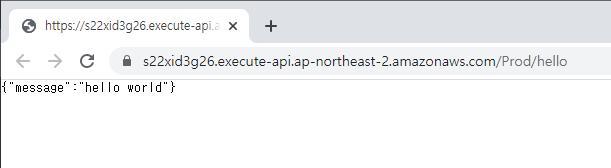
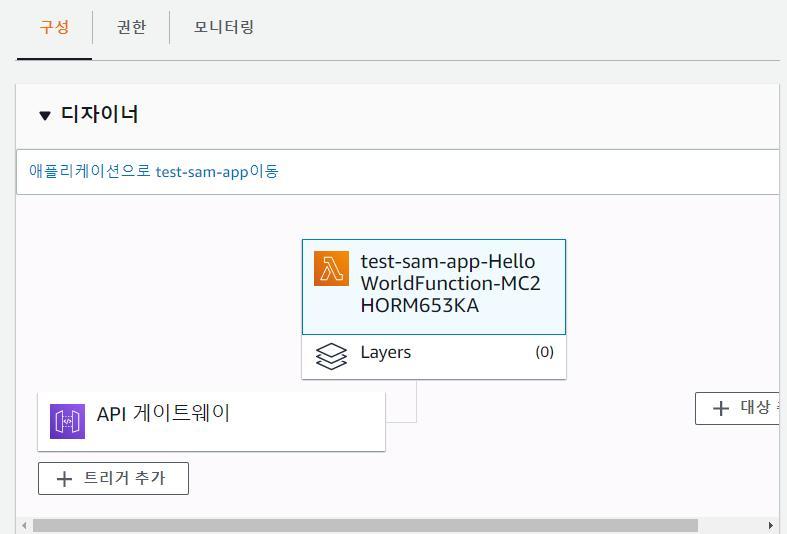
- 지난번에 만든 hello-world sam project에서 테스트해보자
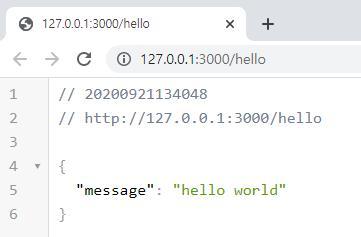
sam local start-api
1 | sam local start-api --skip-pull-image |
1 | C:\tmp\hello-world>sam local start-api --skip-pull-image |
- 나는 이렇게 명령을 쓴다
- 나는 보통 매 실행마다 3-4초 정도 걸린다
- build, deploy 하면서 테스트할때보다 획기적으로 빠르게 로컬에서 테스트 해볼 수 있다
--skip-pull-image옵션을 주는 이유는 매 실행마다 이미지를 받아오는 과정이 있는게 그걸 스킵하면 2초정도 빨라진다- 변경 사항은 자동으로 반영된다
- 단점 ; 근데 변경사항이 없어도 매 실행 3초이상 걸린다
- template.yaml 파일을 수정하면 수동으로 재시작 해줘야한다