게시 됨 업데이트 됨blog4분안에 읽기 (약 571 단어) 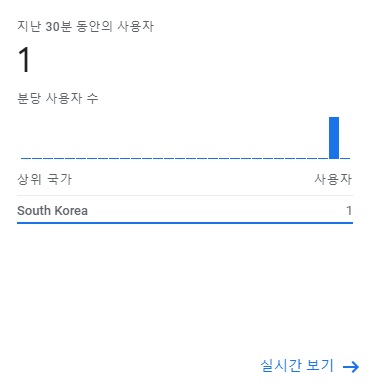
- 깃헙 페이지에 google analytics 를 적용하고,
- 사용자 통계를 받아보자
환경
- 나는 hexo에서 icarus 테마를 사용하고 있다
애널리틱스 계정 생성

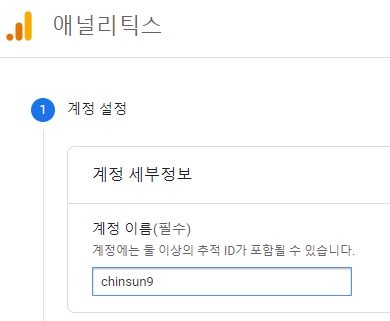
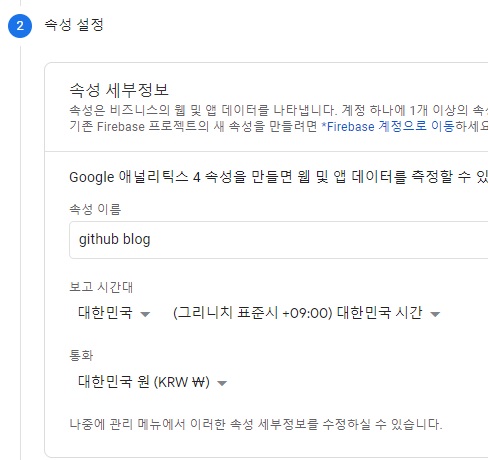
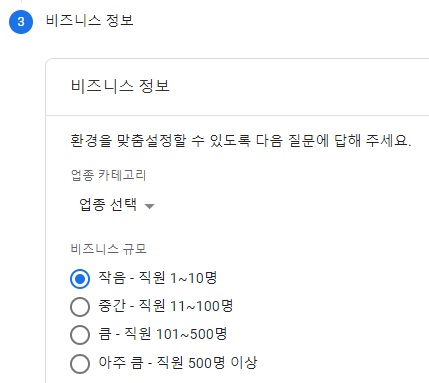
- 비즈니스 정보를 입력한다
- 처음 애널리틱스를 사용해 보아서 이게 맞나 싶었는데, 이 과정을 거쳐야한다..
애널리틱스 데이터 스트림 설정
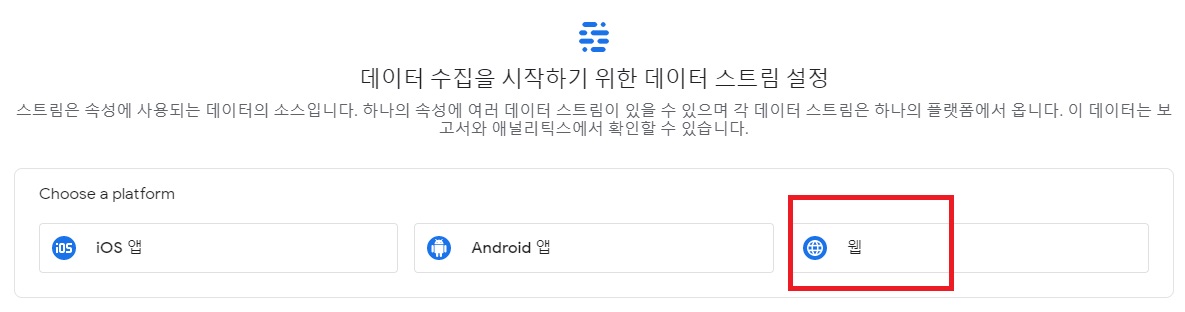
- 게정 생성을 완료하면 이런 화면이 나오는데, 웹을 선택한다
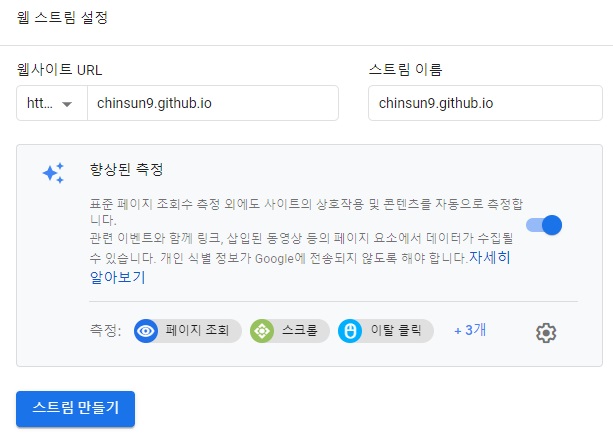
- https, 내 깃헙 주소, 스트림 이름을 입력하고 스트림 만들기를 선택한다
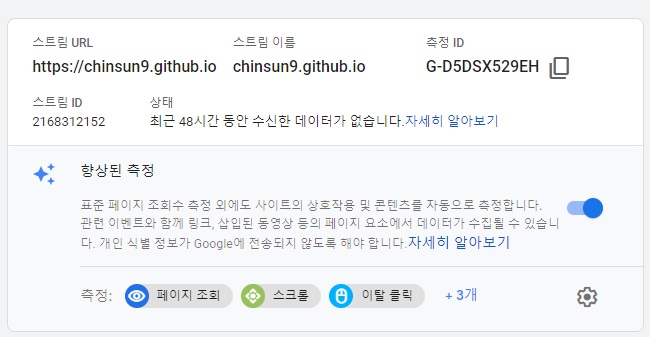
- 측정 ID 를 복사한다
- // 다른 블로그들을 봤을 때, 예전에는 추적 ID였던 것이 측정 ID로 용어가 바뀌였다
hexo config.yml google_analytics 설정
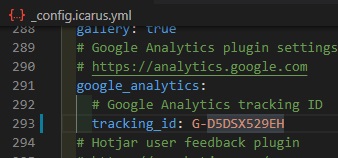
- 나는 hexo icarus 테마를 사용하고 있다
- icarus 테마 설정파일인 _config.icarus.yml 에 위처럼 추가해주었다
- 내 기준으로 290라인 정도에 위치하고있다
적용된 것 확인하기
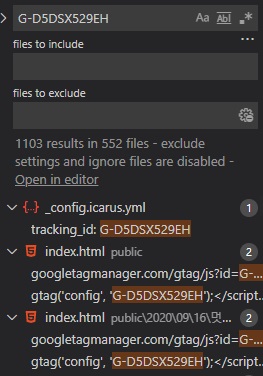
hexo generate 명령어로 현재 설정이 적용이 되었나 확인해보자- vscode에서 ctrl shift f 를 눌러 검색창을 띄우고, 자신의 측정 ID를 검색해보자
- 그러면 생성된 모든 .html 파일에서 검색되는 것을 확인할 수 있다
- 그러면 이제 배포하고, 약간 기다리면 애널리틱스 대시보드에서 카운팅 되는 것을 확인할 수 있다