sam 시작하기
- sam을 이용해서 hello world 프로젝트 만들어 보기
- nodejs로 만든다
전제조건
- aws 계정 (프리티어)
- aws cli 설치
- sam cli 설치
- (aws cli, sam cli 순으로 설치한다.)
- Credentilas Setting (
aws configure)
SAM(Serverless Application Model)
- 겁나 어려워 보이는데 그냥 람다 생성기라고 생각하면 된다
- 로컬에서 편하게 vscode로 람다함수짜고 yml 파일 수정해서..!
- 로컬 테스트 환경도 제공한다!
따라하기
1 | sam init |
- 1번, 1번해서
- AWS Quick Start Templates, nodejs 를 골라준다
1 | Project name [sam-app]: hello-world |
- 프로젝트명 설정하면, 샘플 프로젝트를 가져온다
1 | AWS quick start application templates: |
- 1번 선택하여 헬로월드 템플릿을 받아온다
1 | cd hello-world |
- 이제 생성된 프로젝트로 들어간다
1 | . |
- 디렉터리 구조는 이러하다
- 여기서 중요한 파일은
hello-world/app.js와template.yaml이다
- 2개 파일 소스 대충 어떻게 생겼는지 봐보고 빌드해본다
1 | sam build |
- .aws-sam 이라는 폴더가 생성된다
1 | .aws-sam |
- 이제 배포해보자
1 | sam deploy -g |
- 배포하자.
-g옵션은--guided와 동일하다 - 이 옵션은 최초에 배포할때만 사용된다
1 | Configuring SAM deploy |
- 먼저 Stack Name을 지정해준다. 공란으로 하면
sam-app으로 적용된다 - 다음은 리전 설정이다. 나는 서울
ap-northeast-2로 지정했다 - 다음은 전부다
y해준다
1 | CloudFormation stack changeset |
- 또 어쩌구 저쩌구 나오면서 마지막 확인을 받는데
y해준다
1 | Successfully created/updated stack - test-sam-app in ap-northeast-2 |
그러면 시간이 쫌 걸리면서 aws에 올라가게 된다
또
samconfig.toml파일이 생성된 것을 확인할 수 있다이제 브라우저를 열어서 aws lambda 로 들어간다

- 위와 같이
[스택네임]-HelloWorldFunction이름의 함수 하나가 생성되었다 - 눌러서 들어간다
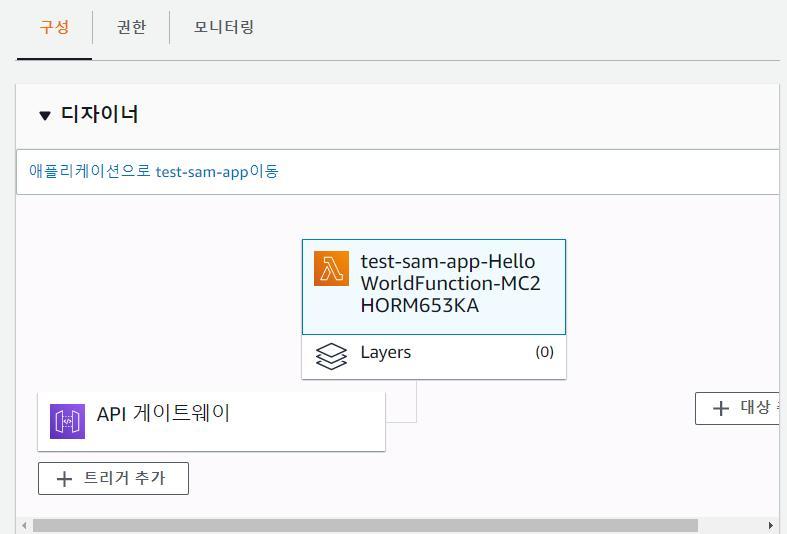
- 이런 화면이 나온다
- api 게이트웨이를 클릭한다. 그러면 아래 화면이 api 게이트웨이로 바뀐다. 거기서 다시 세부 정보를 클릭해서 api 엔드포인트를 확인한다

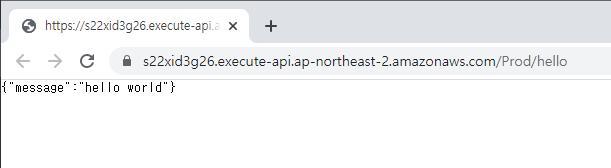
- 엔드포인트를 눌러 접속한다
{"message":"hello world"}이 보이면 성공이다- 이렇게 다짜고짜 sam으로 람다를 만들어 보았다
해설
- sam Hello World Example template를 이용해서 람다를 만들었다
- 이 람다는 어떤 주소로 접속하면 hello world를 반환하는 람다이다
- 현재 프로젝트 구조를 잘 살펴보면 sam을 익히면 된다
- 먼저 이
{"message":"hello world"}는 어디서 왔을까?
1 | exports.lambdaHandler = async (event, context) => { |
- lambdaHandler라는 함수가 있는데 response객체를 반환한다
- 근데 우리는 {“message”:”hello world”} 만 보이니까 body에 있는 내용을 조작하면 우리가 원하는 내용을 보낼 수 있겠구나 생각할 수 있다
- 그러면 이 함수를 실행시키는 트리거, s22xid3g26.execute-api.ap-northeast-2.amazonaws.com/Prod/hello
- api 게이트웨이의 엔드포인트는 어디서 설정되었을까?
1 | Resources: |
template.yaml을 보면 Events 아래 Type: Api가 보인다- hello라는 Path로 get 요청이 왔을때 라고 이해할 수 있다
- 이제 이를 토대로 람다를 업그레이드 해보자