blog update dark theme
- 캬캬캬
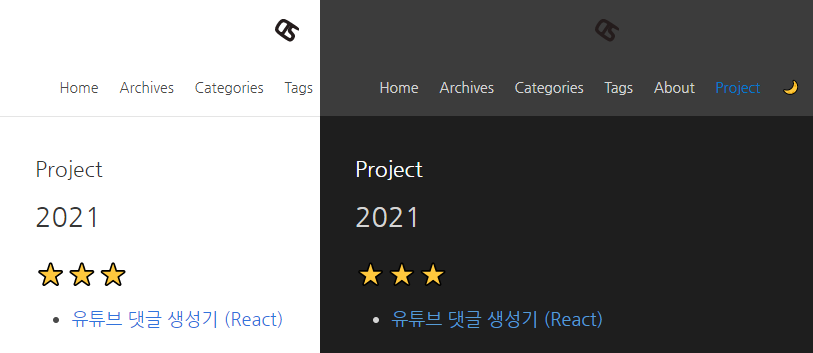
- 블로그 dark 테마 적용
- 상단 오른쪽 검색 버튼 옆에서 토글 할 수 있다!!
다크 테마를 적용한 이유
- github 프로필 메인에 dark theme를 토글하는 버튼이 있었는데
- 어느샌가 세팅 하위 메뉴로 들어가야 변경이 가능했다
- 세팅에서 테마를 고르는데 시스템 테마를 상속받아 보여주는 옵션이 있었다
- 궁금해서 공부해보고 블로그에도 적용하게 되었다
- 처음 C언어를 배울 때 visual studio 사용했다
- 기본 테마가 화이트였다
- 기본 테마를 쓰다가 웹 공부를 시작하면서 유튜버들 세팅을 따라 하다가 다크 테마를 쓰게 됐다
- 써보니까 괜찮고 좋은 것 같다!
환경
- 나는 icarus default theme를 사용 중이다
적용 방법
- 기본적으로 body에 dark class 가 있으면 다크 테마에 맞는 css로 오버라이드하는 방식이다
css 추가
- dark theme에 맞게 새로 추가할 css는

- icarus theme 디렉터리를 기준으로
source/css아래에dark.styl이름으로 파일을 하나 생성했다 - 앞으로 나오는 경로는 모두 icarus theme 디렉터리가 기준이다
1 | body.dark { |
- 어떤 테마 시스템이 있고 그런 게 아니라서 하나하나 수작업으로 바꿔주었다
- body.dark 일 때 css를 오버라이드 할 수 있도록…
1 | // ... |
dark.styl을style.styl마지막에 임포트 해준다- 그럼 css는 끝!
토글 버튼 추가
- 이제 토글 버튼을 추가해보자
- 나는 navbar 상단 오른쪽 검색 버튼 옆에 추가했다
1 | <div class="navbar-end"> |
layout/common/navbar.jsx80라인에 toggleTheme라는 ID로 추가했다- 이제 버튼에 기능을 넣어줘야 하는데
navbar.jsx에서 기능도 추가하고 싶었는데, - 어떻게 빌드되는지 구조를 잘 몰라서 실패했다
- 대신
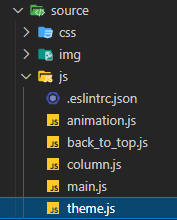
source/js디렉터리에theme.js파일을 하나 추가했다
1 | const btn = document.getElementById('toggleTheme'); |
- 셀럭터로 위에서 추가한 버튼을 가져와서 클릭 이벤트 리스너를 달아줬다
- 이제 hexo로 빌드하면서 생성되는 html에 해당 스크립트를 로드하도록 해야 한다
스크립트 파일 추가
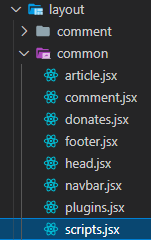
layout/common/scripts.jsx에 위에서 만든theme.js를 등록하면 된다
1 | <Fragment> |
- 56라인 정도 되는 부분에
<script src={url_for('/js/theme.js')} defer></script>추가한다 - 마지막으로 hexo 디렉터리로 돌아와서
public/css하위에 있는 css를 삭제해준다 - 이제
hexo generate하게 되면 css가 갱신되고, 테마 토글 버튼이 달려 있는 html이 생성될 것이다
후기
- 뿌듯하다
- 다 완성하고 자려고 누워서 폰으로 내 블로그를 들어가 봤는데 눈이 편안했다
blog update dark theme
https://chinsun9.github.io/2021/06/01/blog-update-dark-theme/